Bring your existing Premiere Pro projects into Kino to leverage agentic editing, collaboration, and AI search on projects you’ve already started.

Export as Premiere XML

Send your Kino timeline back to Premiere Pro as an XML file. This is useful when you want to finish a project in Premiere or hand off to an editor who works in Premiere.
FCP 7 XML export is a work in progress. Some features may not export correctly.
1

Open the Export panel

With your storyboard open in Kino’s timeline editor, find the Export section in the right-side inspector panel.
2

Select FCP 7 XML format

From the format dropdown, select FCP 7 XML (Timeline).
3

Export the XML file

Click Export XML. Kino will download an .xml file to your computer.
4

Import into Premiere Pro

In Premiere Pro, go to File → Import and select the downloaded .xml file. Premiere will create a new sequence matching your Kino timeline.
5

Relink media

If Premiere can’t find your media files, right-click offline clips and use Link Media to point them to the correct files on your machine.

What Gets Exported

ExportedNot Exported
Clip positions on timelineText and titles
Multiple video and audio tracksMotion graphics
Transform properties (scale, position)Rotation
Opacity and audio levelsTransitions
Fade in/out (video and audio)Color corrections
Speed changesCaptions
In/out pointsNested sequences
Images (as stills)Effects and plugins

Archive Import

The easiest way to import a Premiere Pro project is to use Project Manager to create an archive folder containing both your timeline and all media files.
Using Archive Import means you don’t need to manually ingest media first—Kino handles both the media and timeline in one step.
1

Open Kino's import page

Visit Kino’s import page to begin importing your Premiere project.
2

Open Project Manager

With your project open in Premiere Pro, go to File → Project Manager
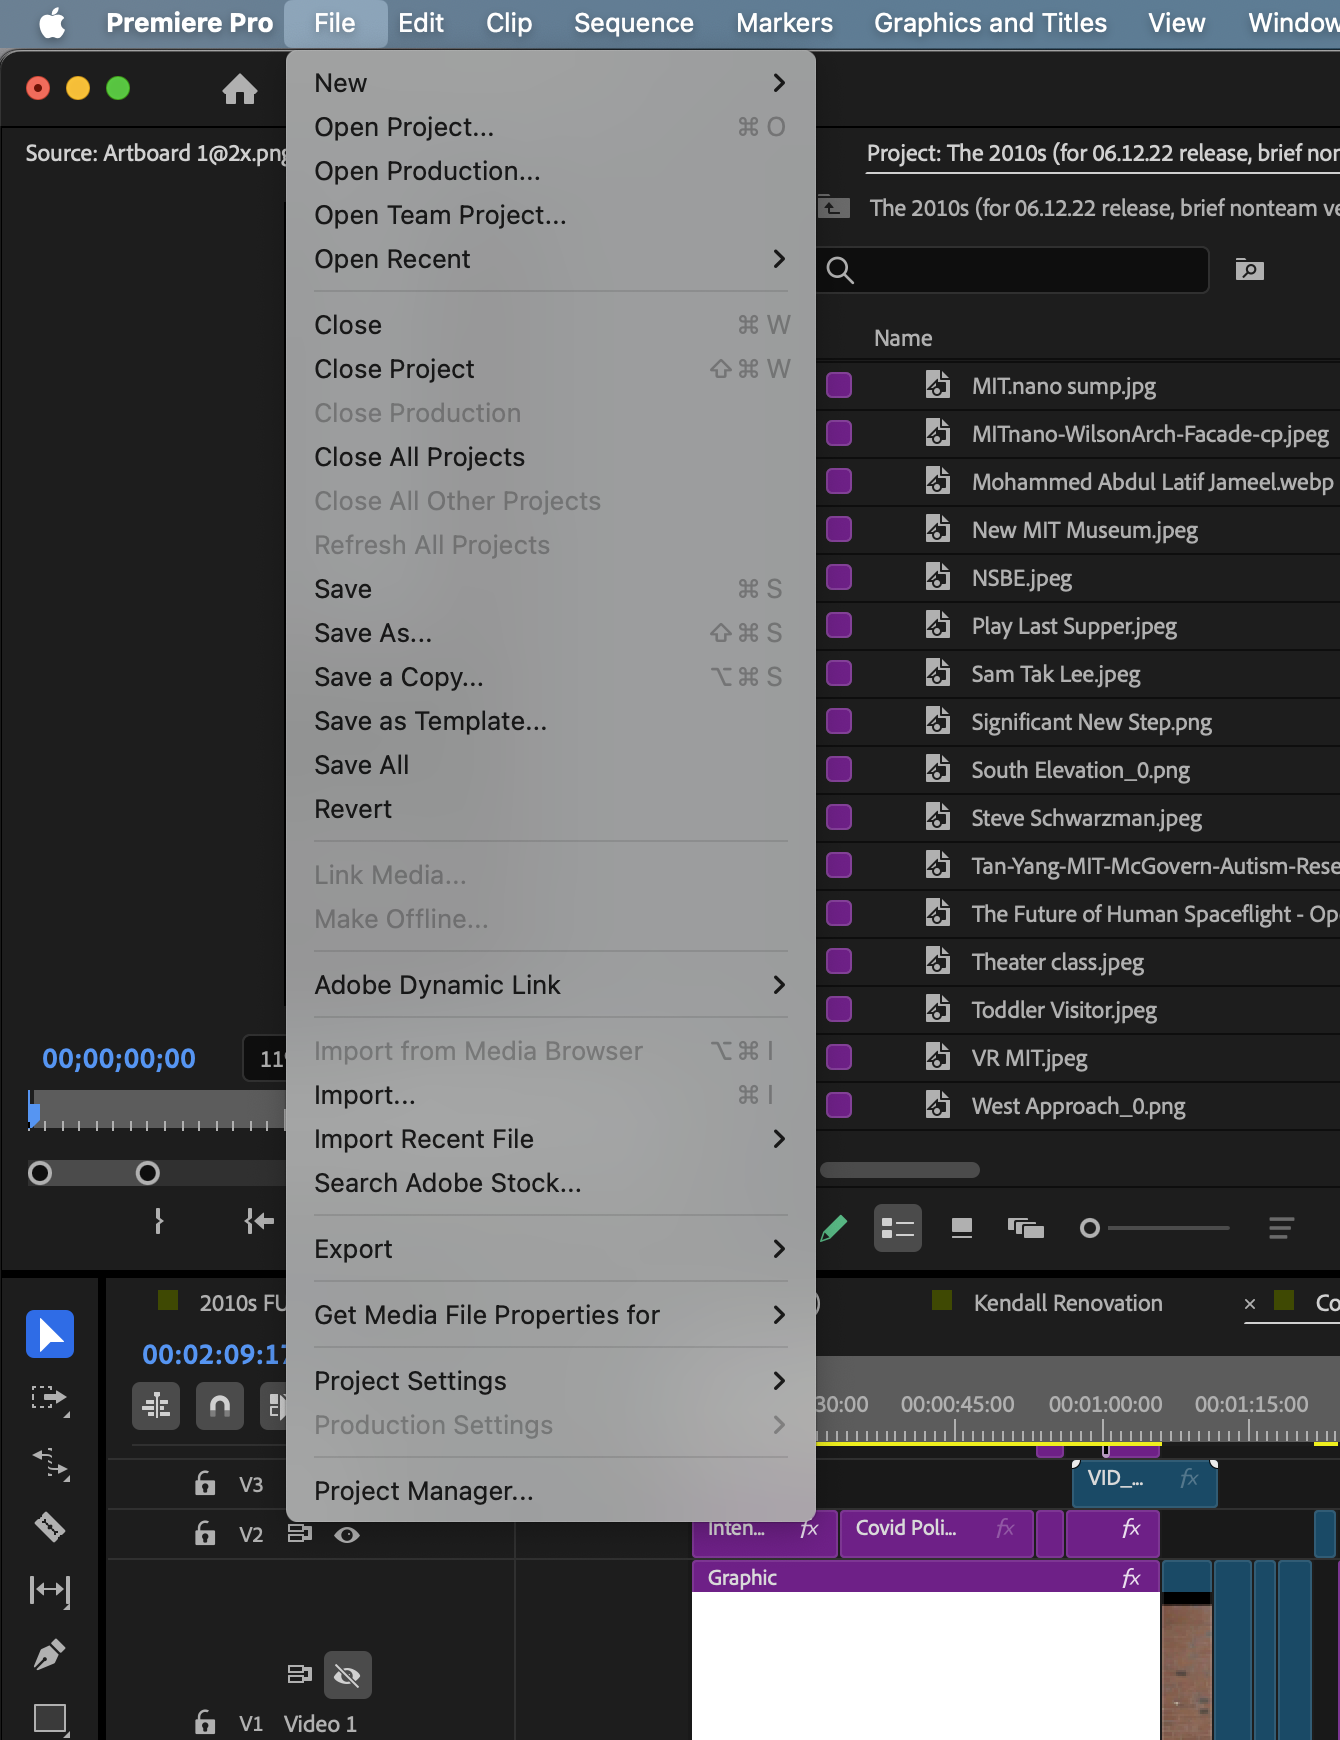
premiere pro file
3

Select sequences and settings
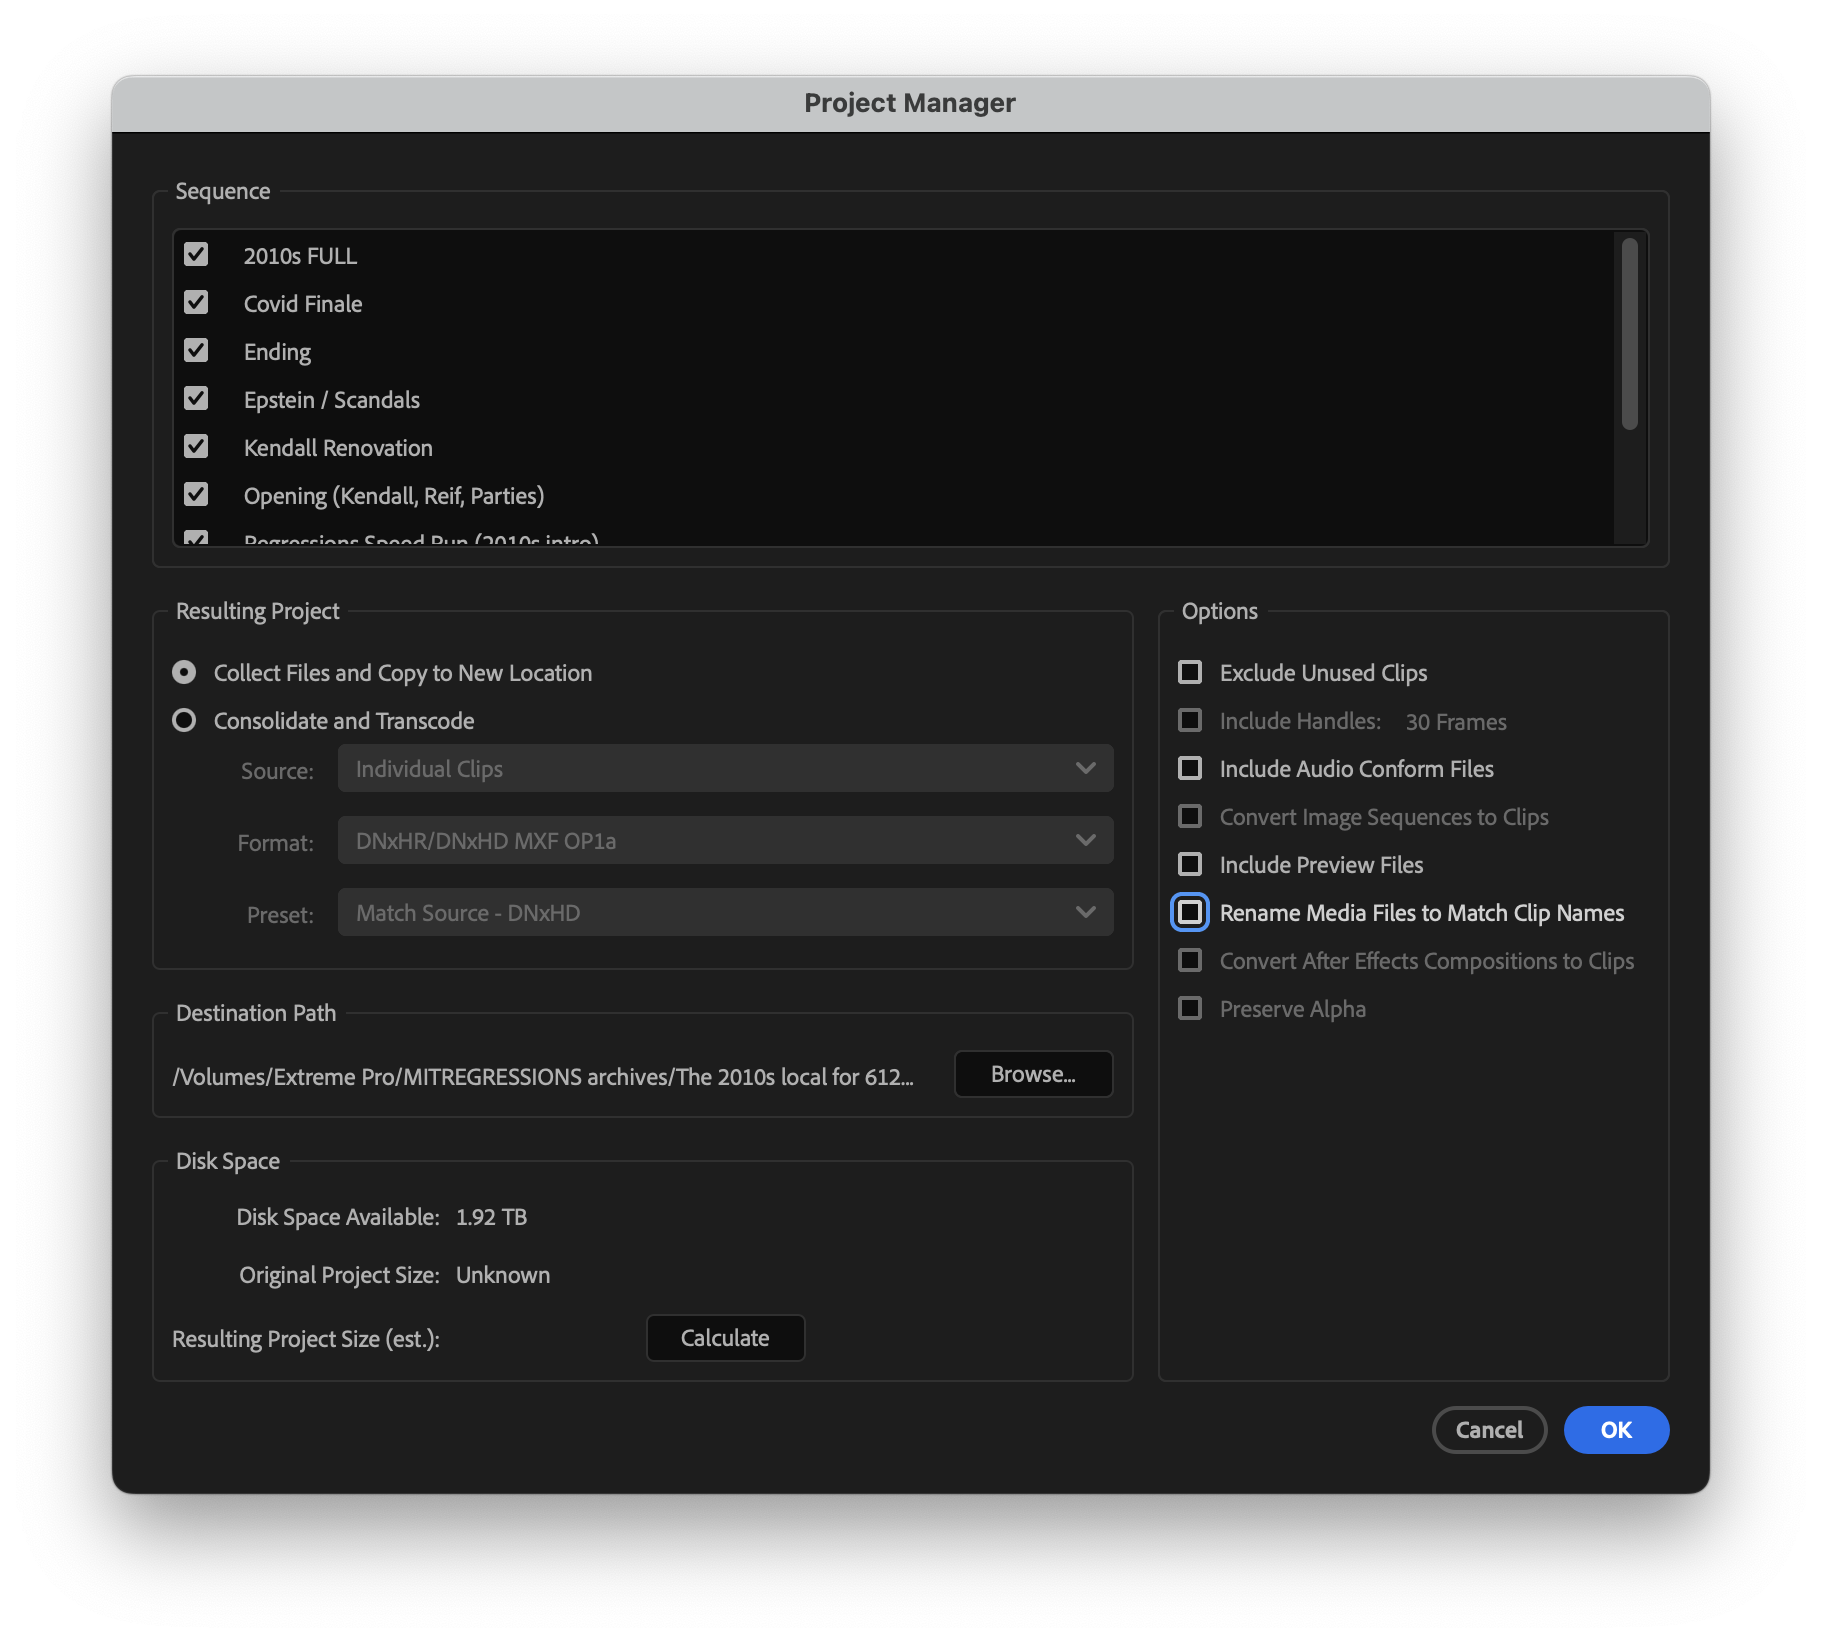
premiere project manager
  • Select all sequences you want to import (or just the ones you need)
  • Uncheck “Include Preview Files” and others. All boxes in the Options panel can be unchecked.
  • Choose “Collect Files and Copy to New Location”
  • Select a destination folder
4

Create the archive

Click OK to create the archive. This creates a folder containing your 
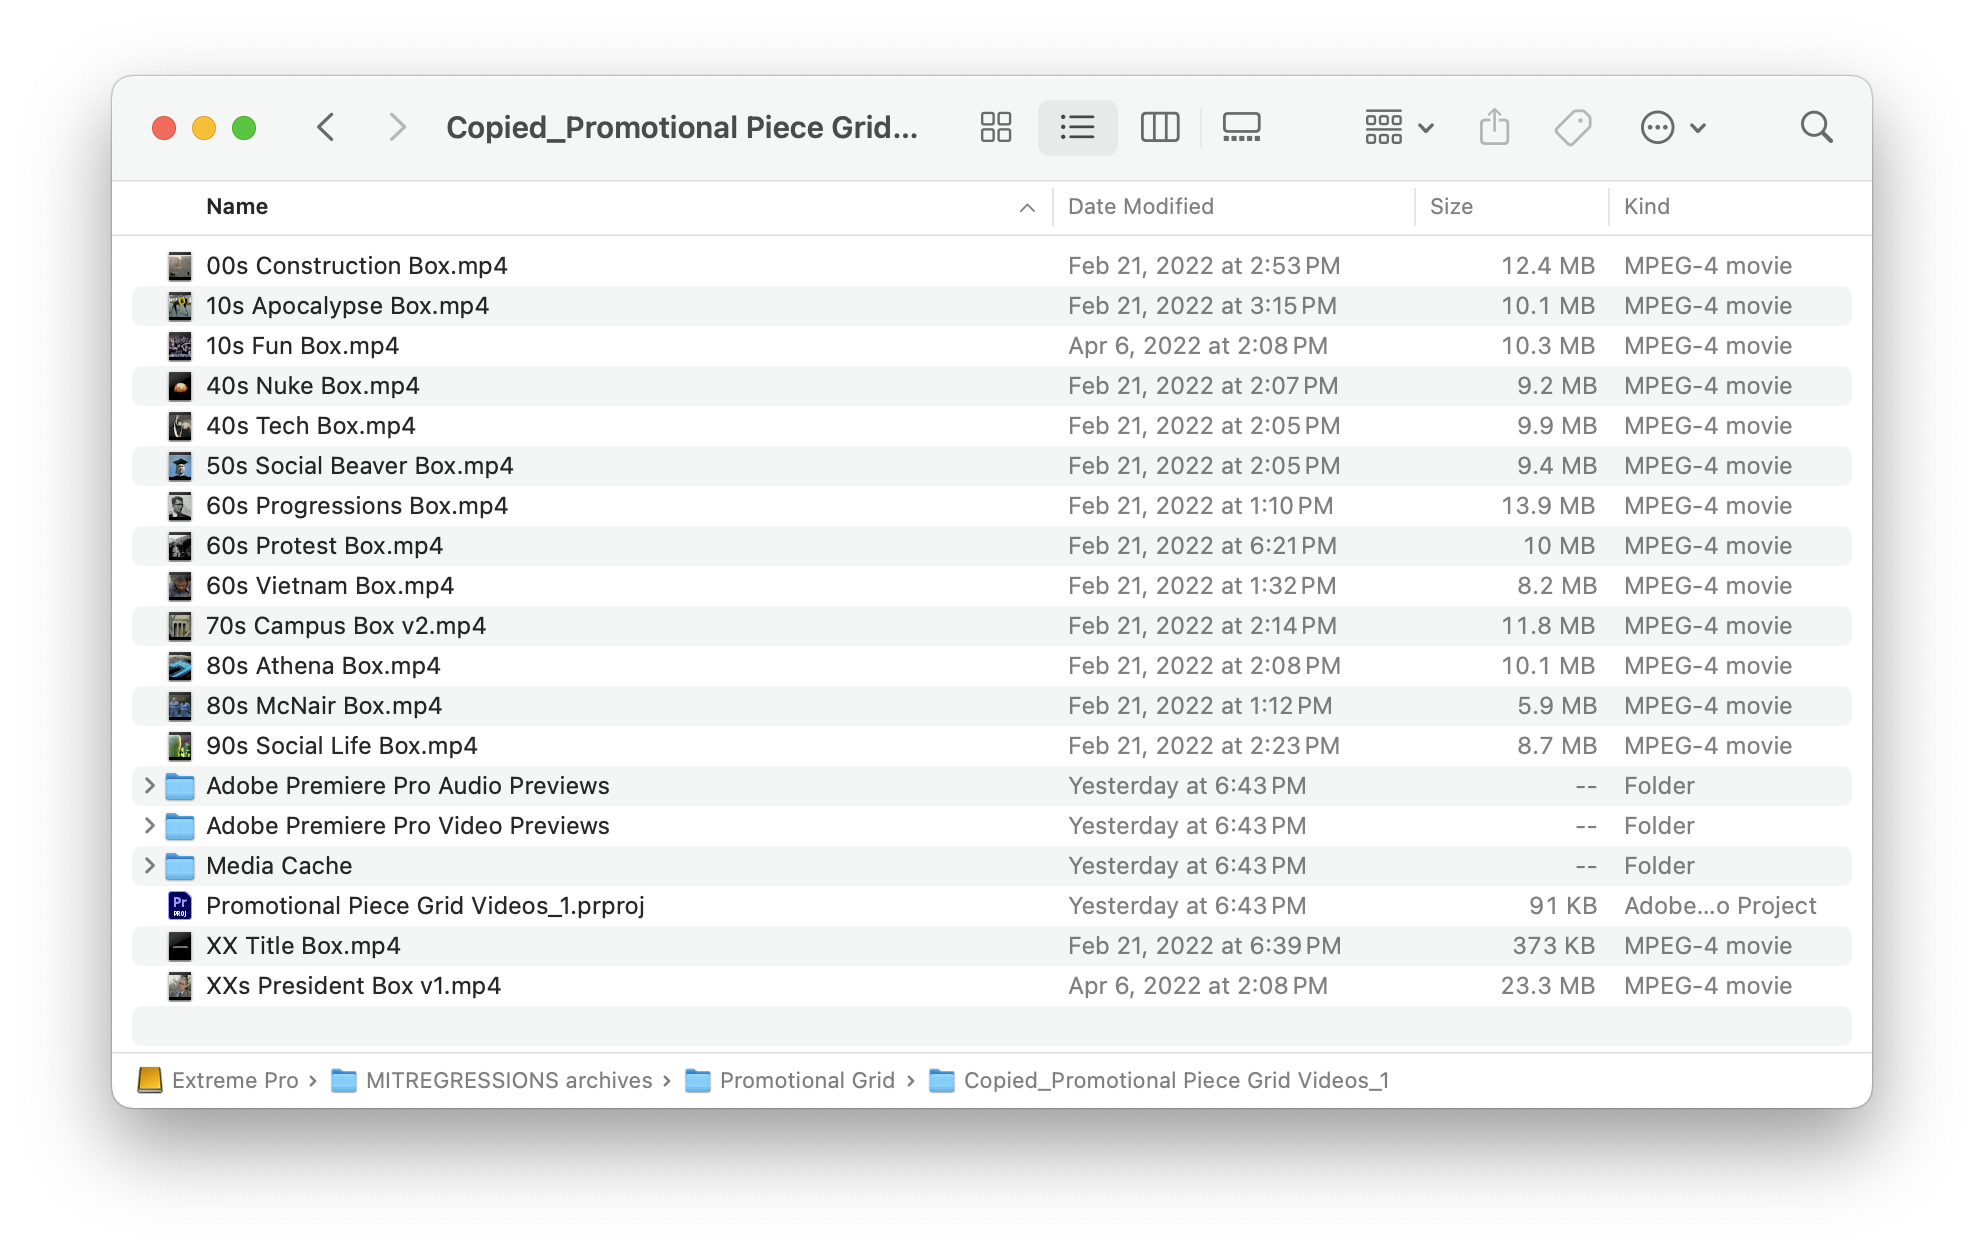
.prproj file and all linked media files.
finder movie list
5

Drag into Kino

Open the Timeline Import Tool in Kino and drag the entire archive folder onto the drop zone. Kino will automatically:
  • Detect the Premiere Pro project
  • Start ingesting all media files in the background
  • Parse and display your timeline
6

Select a sequence

If your project has multiple sequences, select which one you want to import.
7

Create your storyboard

Enter a name for your new storyboard and click Create Storyboard to complete the import.
You can delete this archive once you’re all done, but Kino works best when its pointed to real media on your computer.

Manual Import

If you prefer to import just the timeline file (or already have your media in Kino), you can drag and drop your .prproj directly. Note: Kino matches timeline clips to your library by filename. Make sure the filenames in Kino match the original filenames used in your Premiere project.

What Gets Imported

ImportedNot Imported
Clip positions on timelineEffects and plugins
Multiple video tracksColor corrections (Lumetri)
Multiple audio tracksSpeed ramps
Transform properties (scale, position)Nested sequences
Source file referencesAdjustment layers

Troubleshooting

Reach out to us at support@kino.ai and we’ll help you out.